30 Days of Lists

Thursday, February 28, 2013


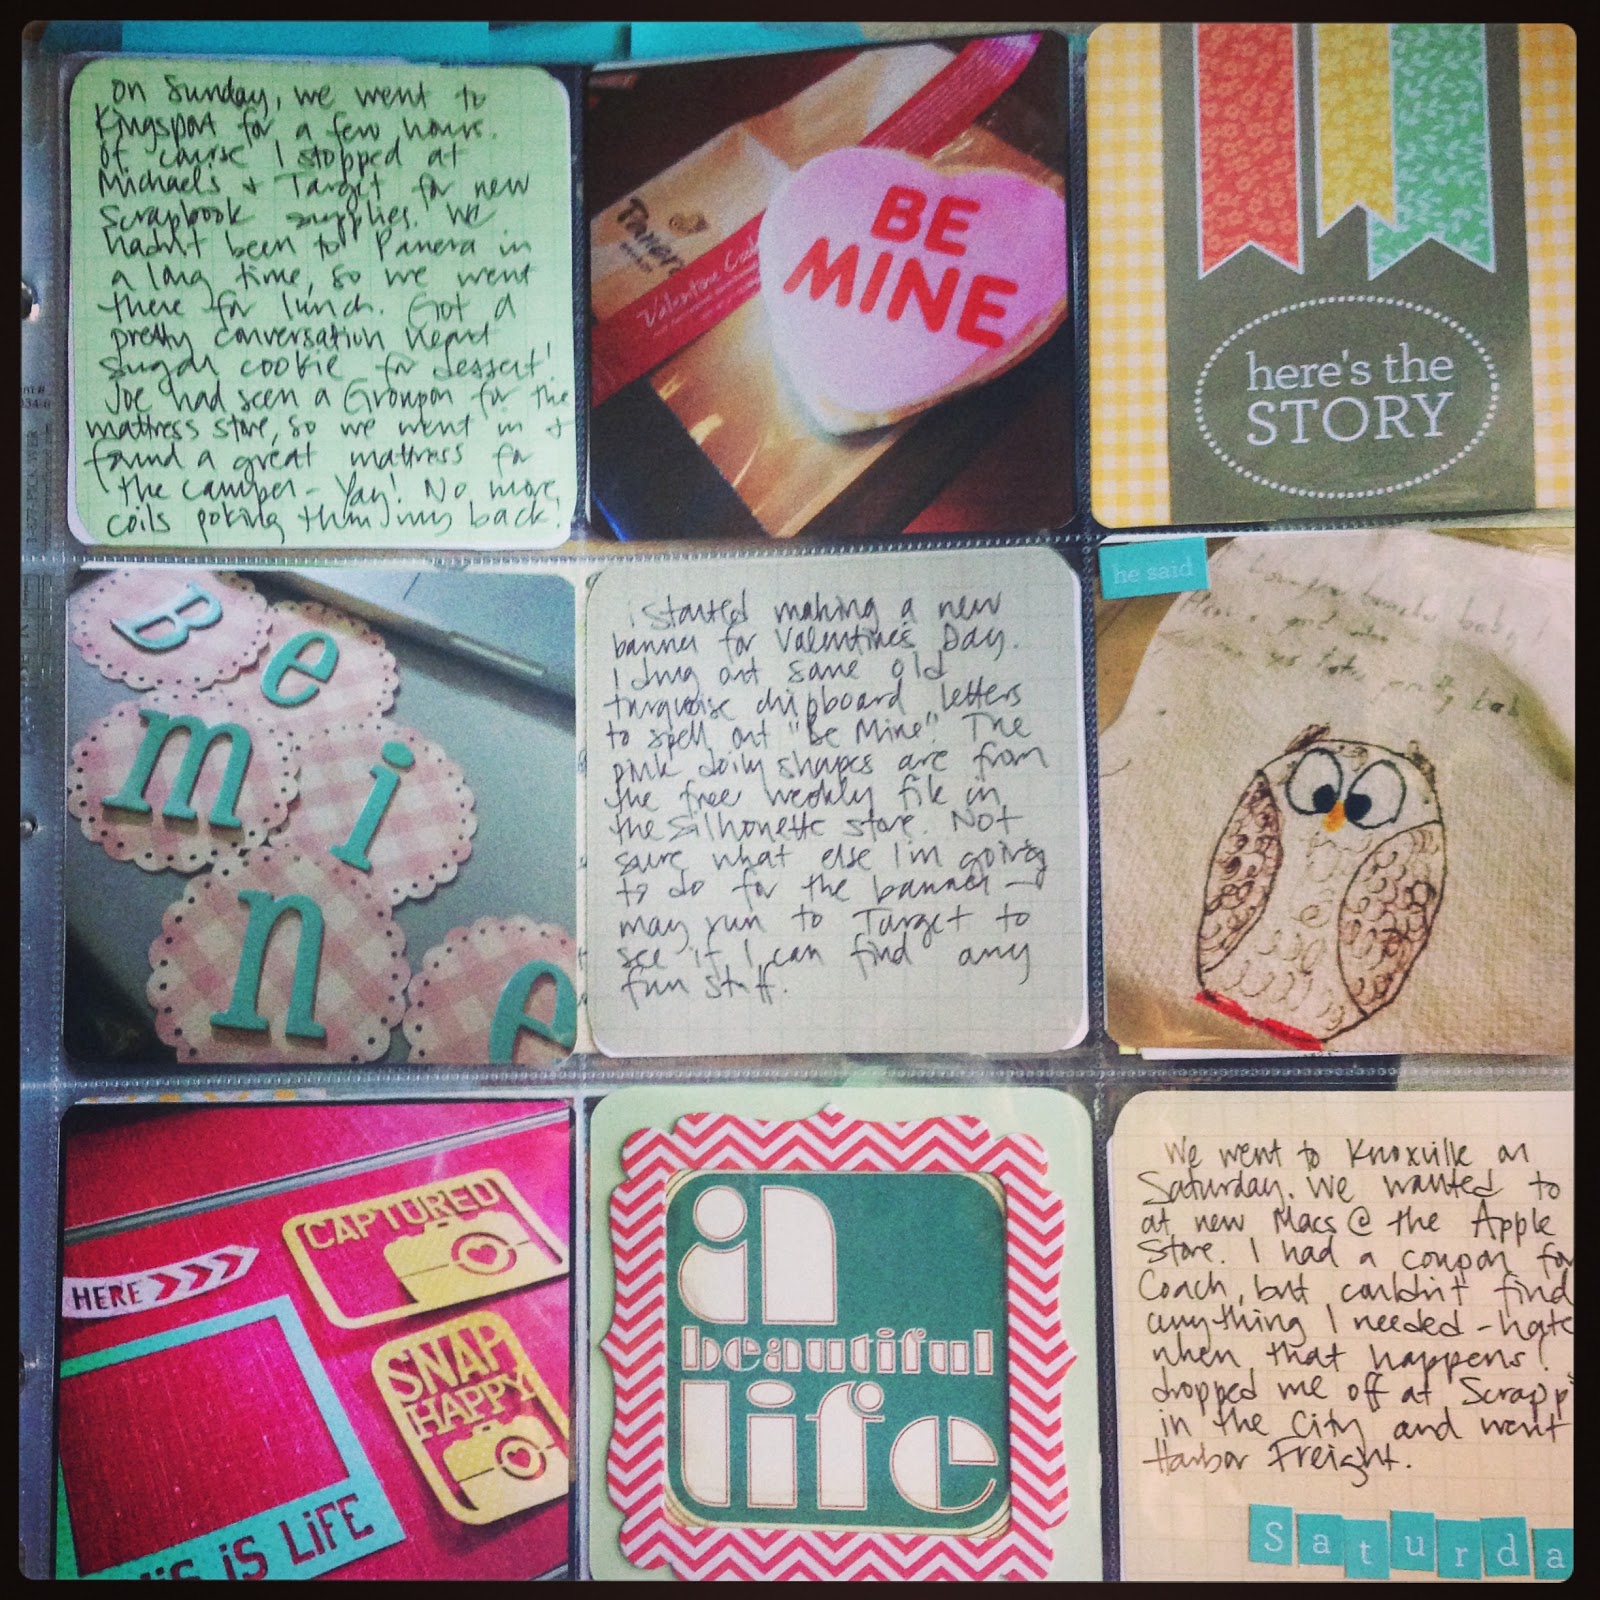
One of my crafting goals this year was to do a class or a series of challenges for scrapbooking. I'm really exciting about starting 30 Days of Lists - it starts tomorrow!

30daysoflists.com

Basically you get a writing prompt for a list every day of March. At the end of March, you'll have a nice little book full of lists about your life right now at this moment. It should only take about 5-10 minutes each day. If you get behind, catch up in a day or two. No biggie.

You can use a notebook, a SMASHbook, a journal, a mini book, whatever you want. I'm using the new Mini Play smash book for my #30Lists. 

Need some inspiration? Check out this Pinterest board.

Want to join me? Register here! If you do, be sure to follow me on Instagram. I hope to post my list daily, but if I get behind, I'll catch up. Use #30Lists on your pics so we can all find them easily.

I love reading each and every comment! 
Be sure to keep up with me on
  Instagram, Pinterest, and Facebook!

Project Life Week 4

Wednesday, February 27, 2013


I used design A from Becky Higgins and a 9x9 square page from We R Memory Keepers for Project Life Week 4. I love the square page... it's the perfect size for Instagrams. 

 I'm trying to include Joe in my pages as much as possible... I don't want this to be a PL just about my life. We do a lot of things together, but I don't always have pictures or stories about what he's done that week. I told him he needed to start "documenting his life" a little better, haha! We'll see how that goes.

 He spent the better part of the week helping his dad and a neighbor change cabs on a truck. What started out as a simple project quickly turned into an all-week affair when they had to get parts from other vehicles to make it work. Joe puts me a little note in my lunch every day and sometimes surprises me with a drawing - look how cute that owl is! We took a day trip to Knoxville and went shopping at a few places. I got crafty with a Valentine banner and silhouette cuts. I used a Pinterest picture for inspiration when getting a manicure - it turned out great! 

Full Week:

project life

Left Side:

project life

Right Side:

project life

This phrase is from a 12x12 sheet. I added a little frame from Michael's Creative Chaos line.

project life

I cut out part of a journaling card from Target's version of PL and put it on a 4x4 patterned paper.

project life

 
I love reading each and every comment! 
Be sure to keep up with me on
  Instagram, Pinterest, and Facebook!

Project Life Week 3

Tuesday, February 26, 2013


Here's week 3 of Project Life. This week I made a blog planner, laughed at some funny work-related memes, experienced massive flooding in our area, cooked an impromptu ravioli dish, left work early due to a big snowstorm, and went to Carrabba's. Harley (my family's dog) got a new bed. Again I included the Currently list. Click on the pictures to get larger views.

Full Pages:

project life

Left Side:

project life

Right Side:

project life

I found this cute "guest check" card to journal about our Carrabba's date.

project life

Used a screenshot of the weather forecast on my phone.

project life

Washi tape again!

project life


I love reading each and every comment! 
Be sure to keep up with me on
  Instagram, Pinterest, and Facebook!

Silhouette Cameo File Folder Box

Monday, February 25, 2013


I'm not trying to make this a Project Life and nothing else kind of blog, so I though we'd switch gears today and look at something else. :) I'll probably be right back to PL tomorrow. I'm so excited about it!

Mom needed some numbers cut out so she could number the days each month in her gratitude journal. I searched the Silhouette Online store but only found a couple that went up to 31 days. If you know of any others, please tell me or link them in the comments! I cut out Everyday Numbers and the December Daily numbers. I cut several months and separated them into little baggies so she could use them for each month.

file folder box

Of course she needed somewhere to keep the numbers... so I made a file folder box on the Cameo.

file folder box

And then she had to have some file folders to put in the box to hold the baggies full of alphabets.

Cameo file folder

I cut the folders out on the Cameo too. I opened both the file folder box and the file folders on the same cutting mat. I moved the folder on top of the folder box. That way I could size the folders down to where they would fit inside the box once it was assembled. I decorated the folders with border stickers from the paper collection.

Cameo file folder

Cameo file folder

Cameo file folder

And there you go, a quick and easy way to store pieces for a project!

I love reading each and every comment! 
Be sure to keep up with me on
  Instagram, Pinterest, and Facebook!

Smash Your Stash Challenge 1

Sunday, February 24, 2013


I just joined a group called 'Smash Your Stash' on Facebook and am going to try to do as many challenges as possible. I'm using the red SMASHbook I got in a SMASH bundle at Michael's a few months ago. I tend to always have a theme when I do my SMASHbooks. I'm hoping these challenges will push me to be a little more random. My pages are still going to be scrapbook-y though. That's just my style :)

The first challenges was to use your oldest piece of patterned scrapbook paper and some letter or label stickers. I used a paper called "Wally Moose Tracks" from Gin-X's 'Take a Vacation'. It's not the first piece of paper I ever bought, but it's one of the oldest I still have. I just cut out lots of the circles from the paper and scattered them around the pages. I used some orange October Afternoon Mini Market stickers.

I thought 'take a vacation' was a great theme for me to use, so I chose a picture from our one-year anniversary trip to Jamaica last year. Joe and I love to travel and explore new places together. I don't think we'll ever run out of places to go.

I used a bunch of little embellishments from K&Co, an Amy Tan sticker, and a few random travel-related things I had laying around.

travel smashbook

I am going to use my SMASH date stamper in this book.

travel smashbook

 I think the international clocks are cute. The stars add a bit of sparkle to the page.

travel smashbook

So what do you think? Are you up for the challenge?

I love reading each and every comment! 
Be sure to keep up with me on
  Instagram, Pinterest, and Facebook!

Project Life Week 2

Friday, February 22, 2013


Here's my second week of Project Life. I had some vertical pictures so I was able to use Design B on the left side. Not sure if it's my favorite design. I need to find some 4x3 filler cards for that design. This week, I started this blog, we went camping and to Foxfire Mountain, I made a baby scrapbook for a dear friend (more details coming up on a future blog post), and I had a corporate visit at work. Click on the pictures to get larger views.

Full Week 2

project life

Left Side:

project life

Right Side:

project life

I made this "here" cutout on my Cameo.

project life

I love the simple phrases on these Sn@p Stickers.

project life

I made this little "on the blog" journaling card. On this one, I just talked about finally(!) starting it. In the future I'll be using these cards to list the blog posts for each week.

project life

Well, what do you think? I'm so in love with this project!

I love reading each and every comment! 
Be sure to keep up with me on
  Instagram, Pinterest, and Facebook!

Project Life Week 1

Thursday, February 21, 2013


Be prepared for Project Life Overload on the next few posts :) (is there ever really too much of a good thing though?)

I got a bit of a late start to Project Life, but I wanted my book to start on January 1. I spent this past weekend printing photos, making journaling cards, making week cards, and learning how to fit everything into those project life pocket pages. It's fun, like a puzzle! Once I got everything together, I was amazed at how much I got done in such a short amount of time. If I can keep this same pace, I should be able to keep up.

This week we celebrated NYE at home, made a special pasta dinner together, made sausage muffins for breakfast, I hung out with my parents for breakfast one morning, and I met up with a friend for lunch and a friend for coffee. Um, do you notice a theme? I really do more than just eat and take food pictures. LOL! Obviously I hadn't decided to start PL until a couple weeks into January. Hubby put some shelves together for me and I had computer issues at work too.

The full week:

project life

Left Side:

project life

Right Side:

project life

I used a lot of mini alpha's, like these from October Afternoon:

project life

I do love washi tape, so it made an appearance too. I am including a Currently List on each week.

project lifeproject life

I've got to get in the habit of taking more horizontal photos! Do you have any tips? Let me know in the comments :)

I love reading each and every comment! 
Be sure to keep up with me on
  Instagram, Pinterest, and Facebook!

Project Life journaling cards and week cards

Tuesday, February 19, 2013


I needed some journaling cards for Project Life. I found some great paper called Metalo at Staples. I was really looking for some heavier cardstock, but so far this is working just fine. I'm writing on the cards with Sharpie fine tip markers and none of the ink has smeared, so I'm happy. The ink doesn't bleed through the paper either.  I made my own graph paper at this site and printed it onto the paper. Then I let my Cameo do all the work and cut them out for me! yay!

project life journaling card

So far I've only made 3x4 journaling cards. I'll be printing and cutting some 4x6 and 4x4 soon.

I want all of my 4x6 week cards to be somewhat consistent. I'll be using different patterns that I've already cut out (see my first Project Life post). I went straight to my Cameo to make some banners to put on each 4x6 card. I picked two different shapes and put 'week' on there in Lobster Two font (go download it - it's free!) I left room underneath 'week' to write the dates. I love some of the date stamps out there for Project Life, but I needed something flexible for the dates. Although I'm primarily going to be doing my weeks Monday - Sunday, there are some weeks that I may change the days... like when we leave next month for vacation on a Sunday, I'm going to do Sunday - Sunday to keep the whole vacation together. I'm going to use stickers to put the number of the week.

project life week cardproject life week cards

And here's some of the finished projects. I'm just going to pick whichever card I want for each week. 

project life week card

What do you think? How are you making your week cards?

I love reading each and every comment! 
Be sure to keep up with me on
  Instagram, Pinterest, and Facebook!

This time last year: Project Life SMASH book February 2012

Monday, February 18, 2013


It's time for the February 2012 edition of my Project Life SMASH book. Be sure to look at January's entry to see more pages in this SMASH book. This month I used another calendar pocket, my SMASH date stamper, the K&Co washi tape, and lots of Instagram photos.

On the calendar pockets, I wrote down any fun or special things that happened. The pocket has a notes section at the bottom - there, I take note of dinners we cooked and books I read.

On the first page I put pictures of the Girl Scout cookies we bought, and Gruffy's grooming visit. Dad and I went out for breakfast and then to an estate sale, so I wrote a bit about that and included pictures. For Valentine's Day, my husband sent me flowers and packed me a heart-shaped peanut butter and jelly sandwich for lunch. So sweet!

pink smashbook

We spent the weekend before Valentine's Day in Gatlinburg, TN. It was snowy and cold, but we had a blast. We went shopping, rode the Ober Gatlinburg tram, had an early Valentine's dinner at The Melting Pot, and had lunch at Loco Burro the next day. As I wrote the story of what we did, I added pictures to help tell the story. I included a business card from The Melting Pot on this layout. I put the menu in the February calendar pocket on the previous page.

pink smashbook

I love reading each and every comment! 
Be sure to keep up with me on
  Instagram, Pinterest, and Facebook!

Silhouette Cameo Files - Valentine Candy Bags

Friday, February 15, 2013


Gift bags were some of the first files I downloaded when I got my Silhouette Cameo. I've been wanting to make some bags and Valentine's Day was the perfect excuse!

valentine gift bag

I used the 3D gable box from the Silhouette Online Store to make these. I stretched it to make it as big as I could on a 12"x12" piece of paper. On two of the boxes, I added one of the lattice hearts (you might recognize it from my Valentine Garland).

valentine gift bagvalentine gift bag

I cut a piece of K&Co's Valentine paper to create the little sentiments on each gift bag. I used these on my wedding favors and absolutely loved them! (I might have bought like 20 of these papers).

valentine gift bag

I stuffed the bags with candy and gave them to my coworkers yesterday.

valentine gift bag

Hope you had a happy Valentine's Day!


I love reading each and every comment! 
Be sure to keep up with me on
  Instagram, Pinterest, and Facebook!

Heidi Swapp Memory Stand - February

Wednesday, February 13, 2013


I have a new frame to display pictures of me and my hubby! :)


I picked up a Heidi Swapp Memory Stand at a scrapbook store a couple of weeks ago. It's a totally customizable frame you can use to display a favorite photo or a collection of photos. I have been wanting to display more current pictures of me and Joe, and this is the perfect way to do it!


I started by taking it apart and using the included paper as a template. I picked another piece of paper from the My Mind's Eye "Love Me" collection (same as I used on the Valentine Garland) for my background paper.

heidi swapp memory display stand

I had a pack of die-cut mat pad from K&Co that I used to frame my picture. 


I chose one of my favorite Instagram pictures from last year and printed it at home (3.75" x 3.75"). I added a few embellishments (a heart doily, lots of heart stickers, and a cut-out from the K&Co line) and that was it! Seriously took about 15 minutes!

I love reading each and every comment! 
Be sure to keep up with me on
  Instagram, Pinterest, and Facebook!

LinkWithin

Related Posts Plugin for WordPress, Blogger...
Proudly designed by Mlekoshi playground